When you’re designing the interior of your home, it won’t take you long to realize that the difference between a tasteful, well designed interior and a gauche, gaudy mess is all in the small details. The touches of taste and splashes of color can be the most important part of an interior design ensemble, and are absolutely crucial if you want your home to feel right.
There are a number of little touches of this kind that serve to bring the design of the entire home together. You can replace an overstated or understated light fixture with one that better suits the atmosphere of the room it’s in, or you can change the lighting setup of the room altogether. You might be leaning towards one color palette for a room, only to change your mind and go for a different, more complimentary color palette.
One of these small but impactful changes that you can make is installing crown molding. These understated strips of wooden trim line the seam where the walls meet the ceiling, adding a subtle and tasteful but thoroughly impactful touch to any room they’re installed in. They go with most interior design styles and they’re surprisingly easy to install. Want to know more? Keep reading!
Where it works, where it doesn’t
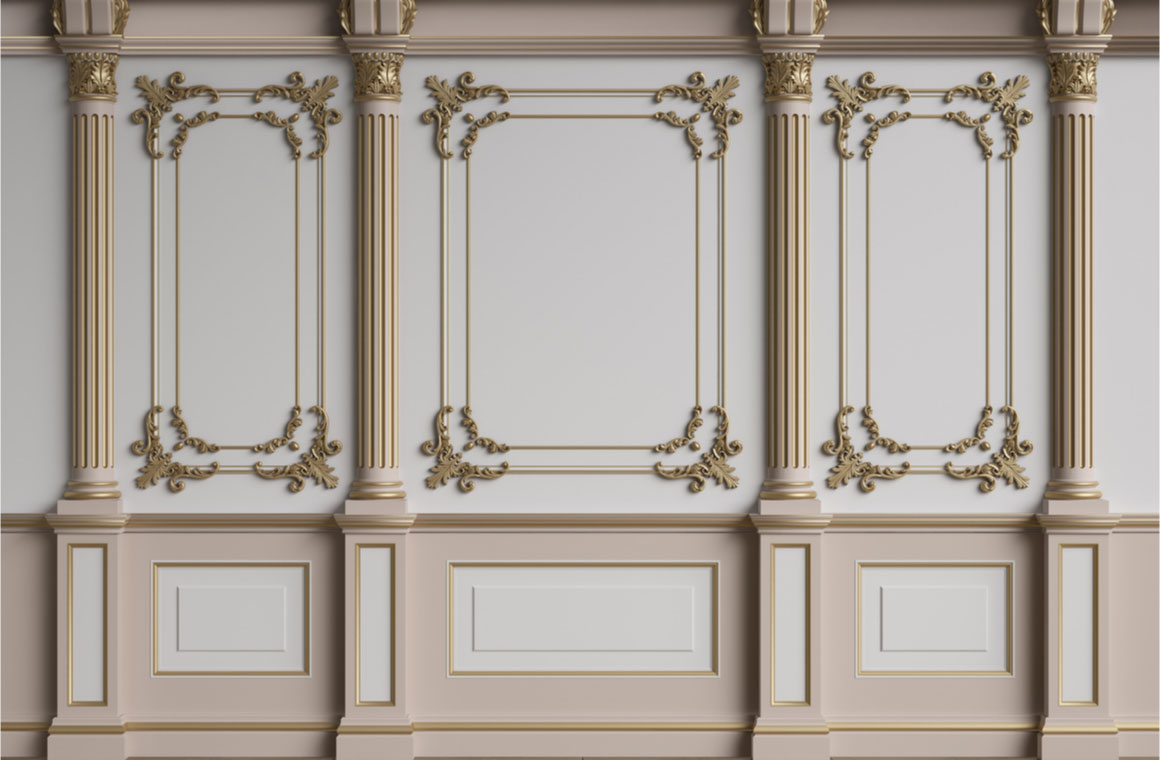
While crown moldings are often a welcome addition to a room, they don’t work everywhere in every home. Some interior design styles are more compatible with crown moulding than others, so it’s best to double check and make sure that the look you’re going for meshes well with the addition of this trim.
As far as styles go, traditional aesthetics typically mesh best with crown moulding. This style of interior design relies heavily on tasteful additions like crown molding to establish a coherent look and feel, interchanging flash and spectacle for a warm, atmospheric aesthetic. If this is what you’re going for, then crown molding is sure to be a welcome addition.
Contemporary and minimalist interior designs, on the other hand, don’t work nearly as well with this type of trim. These styles rely on simplicity and a clean, no-frills approach to interior design that isn’t really complimented by unnecessary additions such as crown moldings. While there are subcategories of this type of interior design where crown moldings fit quite nicely, it takes a steady hand and a deft eye to pull it off.
Installing crown moulding 101

Once you’ve made the decision to install crown molding, it’s time to set to work installing it. If you’ve decided to do this yourself instead of hiring a meticulous but expensive professional, we’ve got good news for you: it’s a lot easier than it looks! If you’re looking to save some money on a redesign, house flip or new construction, then this is probably the path for you.
In spite of the relative ease with which crown molding can be installed, it still does require a methodical and careful individual to adequately install. Luckily for you, we’re going to lay out the installation process step-by-step to take some of the guesswork out of the ordeal. The most important thing to remember is that going slow and getting it right is faster and cheaper than being hasty and having to rip it down and start over!
Get your tools together: budget vs. perfectionism
Before you can get into the process of installing your crown molding, you’re going to need a few tools. First off, you’ll need either a handsaw and mitre box or an electric compound mitre saw. The first option is the cheapest, but is time consuming and awkward to use. The second option will result in cleaner and more precise cuts, but comes at a hefty cost. One possible option is to rent or borrow one while you need it, which will be substantially cheaper.
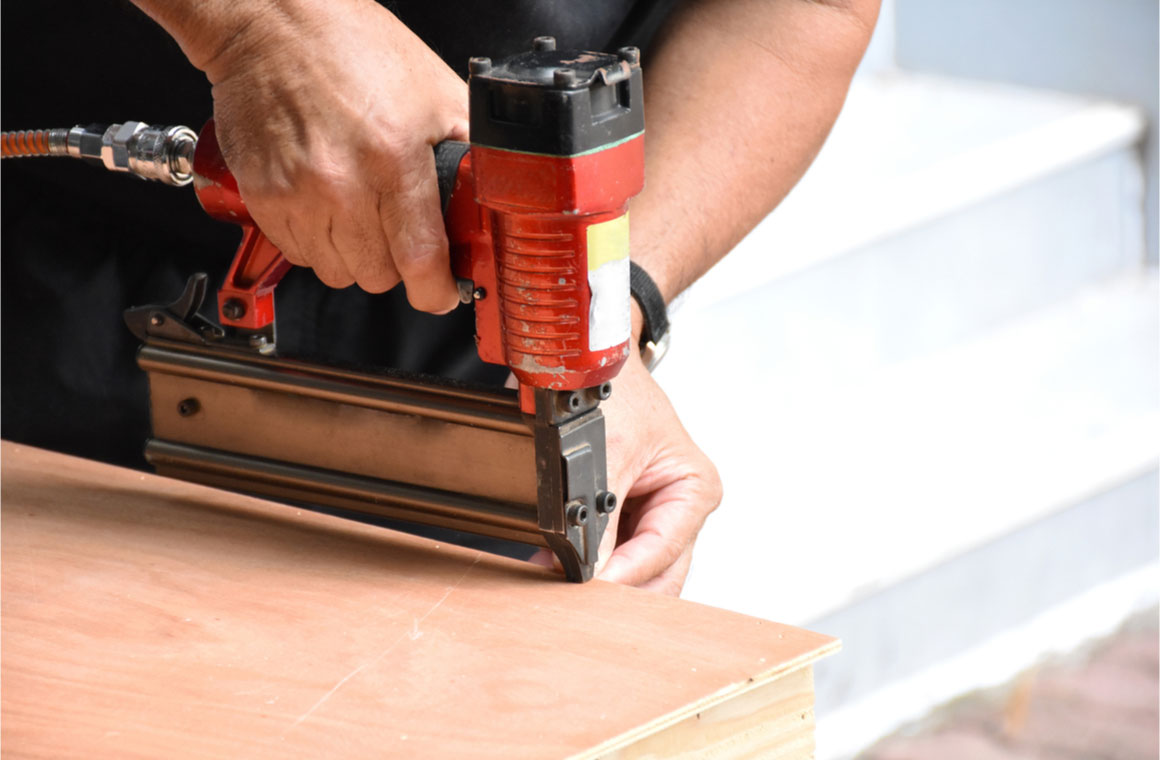
Second, you’ll need an air compressor and trim nail gun or a hammer and nail punch. A trim nail gun is easy and quick, and a good one can be purchased for under $100, making it the best option in this situation. Alternatively, a hammer and nail punch are great if you’re on an extremely tight budget and are looking to cut costs wherever possible.
Finally, you’ll need a few inexpensive but essential tools to make sure the job is done right. At the least, you’ll want to pick up a caulk gun, a putty knife, a straightedge and even a few decent paint brushes depending on what finish you plan on going with. If you’re buying pre-finished trim, skip the paint brushes; if you want a custom finish, toss them in the cart.
Step one: pick your trim

The first step towards achieving your goal of having your home adorned with beautiful crown moldings is picking out the trim that works best for the room or rooms you’re installing it in. Some crown molding designs are more ornate and elegant, while others are simple and straightforward. Whichever you choose, be sure you like it; you’ll be looking at it for a long time!
As a general rule, you’ll want to pick molding that is noticeable but not distracting. While you will find crown molding with extremely ornate and eye-catching designs, this is generally undesirable due to its price and it’s inability to adequately mesh with other interior design elements in your home.
Step two: calculate how much you need

Once you’ve picked out the type of trim you want to use, you’re going to need to calculate how much of it to buy. First, measure the total distance along each wall that will be topped by a piece of crown molding, then add roughly one inch for each corner along these walls. Once you’ve figured out much trim this adds up to, add a foot or two to that number to prepare for mistakes.
Trim typically comes in pre-cut segments of specific lengths. When possible, it’s usually best to get longer segments rather than shorter ones. When doing trim work, fewer seams means less work with the caulk gun, and less work with the caulk gun means fewer mistakes overall (caulk is deceptively difficult to work with as a beginner).
Step three: finish the trim (optional)
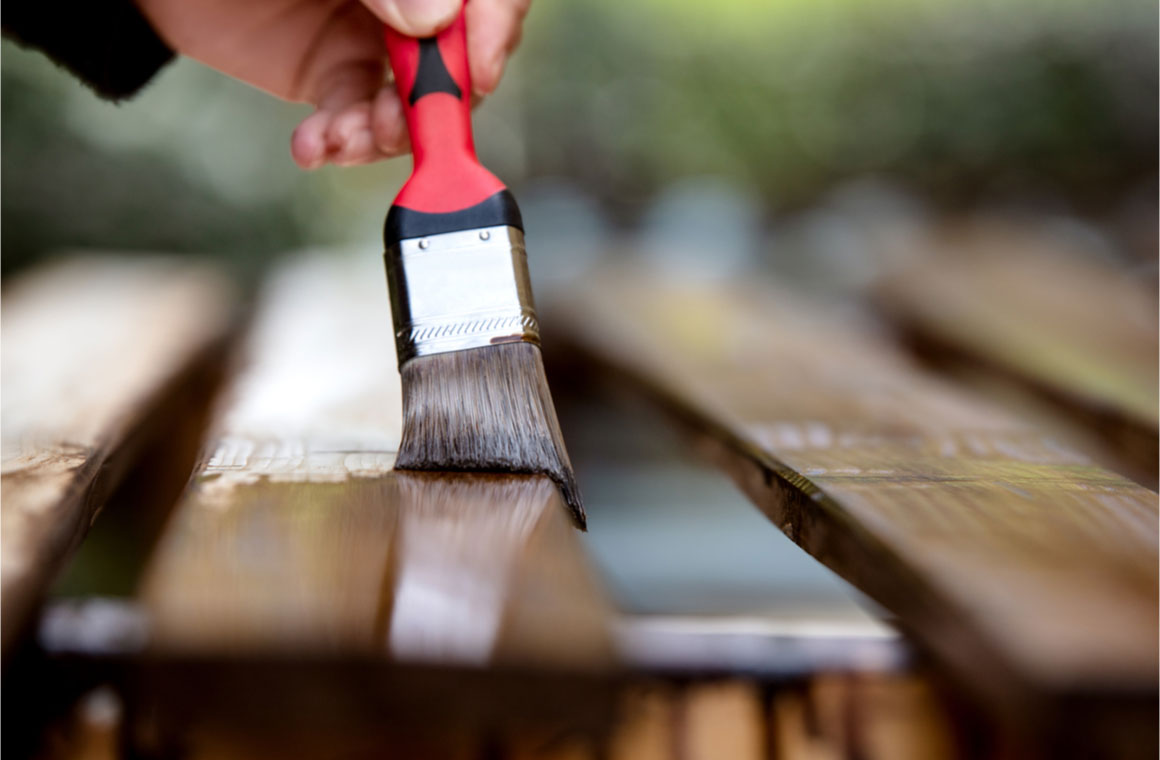
Now that you’re home with your trim, you’re either going to spend some time finishing it or go directly on to installation. If you’ve purchased pre-painted or pre-finished trim, you can skip ahead to the next step; if you purchased unfinished trim, you’ll have to take some time to apply the finish of your choice.
In order to finish your trim, you’ll need some wood stain and your choice of lacquer or wood oil. Lay your trim out across a set of sawhorses, put on a pair of rubber gloves, grab a clean rag and apply the stain evenly across the wood. After the stain is dry, use a paintbrush to apply lacquer or a clean rag to apply wood oil.
Step four: make the cuts and hang it up

While experienced professionals will usually split this step up into much more efficient steps, to avoid waste, it’s best to hang each piece of trim up as you cut. Starting from the corner of the room, measure the distance to the next corner. Choose a piece of trim and mark it at the appropriate length, then adjust your saw to cut at a horizontal 45° angle.
Lay the wood on the saw with the unfinished side down, then cut the end that will fit into the corner at a 45° angle, with the cut ending at the mark you made. If the piece is big enough to span the entire length of the wall, you can repeat this process for the other corner; leave the end uncut and continue with another piece of trim.
Once you’ve cut a piece of trim at the appropriate length, have someone hold it in place while you secure it with two trim nails at each stud. If you’re using a hammer and hole punch, hammer each nail until it’s almost flush with the wood, then use the nail punch to drive it in until it’s roughly one sixteenth of an inch past the surface of the trim. Go slow, measure everything twice and before you’ll be one step away from having beautiful trim!
Step five: finishing up
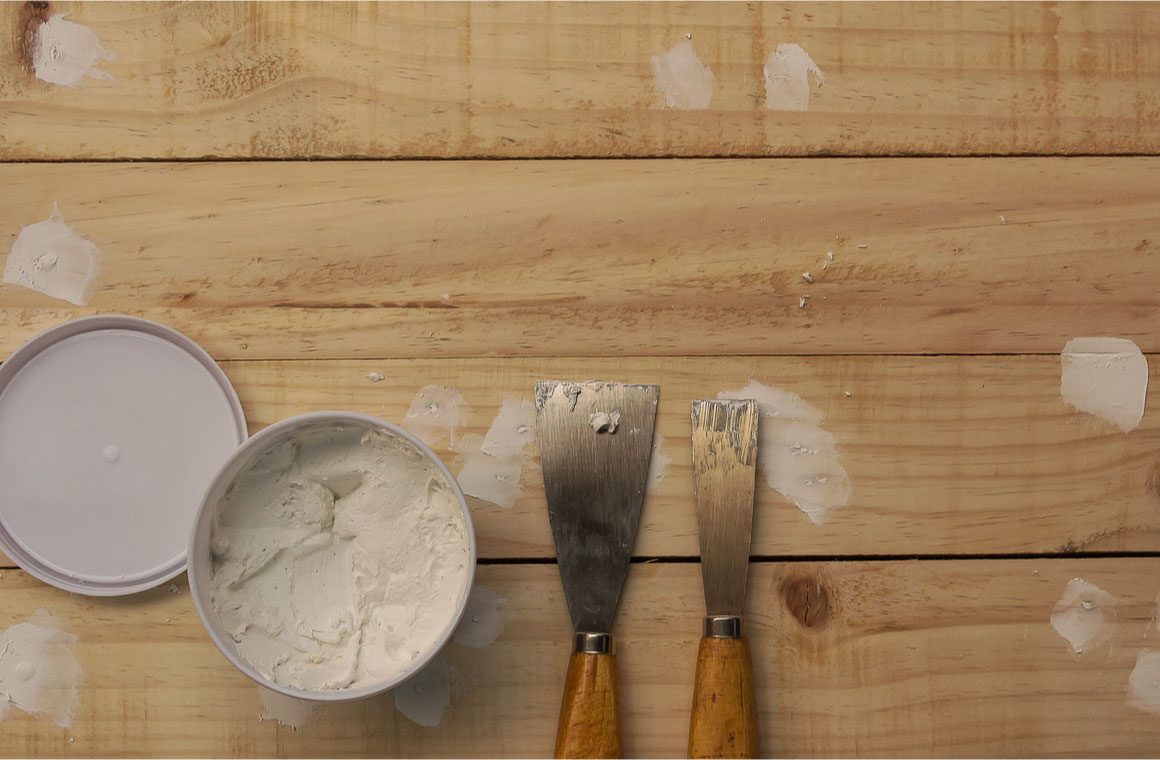
Now that you’re done hanging the crown molding, you’re almost done. All that’s left to do is plug the nail holes and seal the joints and seams. This is a fair bit of work, make no mistake, but with persistence and perseverance you’ll get it done. For this part you’ll need some latex caulk and that caulk gun you bought in the beginning. If you’re using finished wood trim instead of painted trim, you’ll need some wood putty as well.
Considering the fact that most painted crown molding is white, if you went with this choice, you can simply caulk the joints, seams and nail holes with no additional finishing. If you choose a different color of trim, you’ll also need to double back and paint the sealed areas. Finally, if you decide to use finished wood trim, you’ll want to fill nail holes, seams and joints with wood putty.
Conclusion
On a final note, it’s important to remember that meticulous execution is the most important part of this process. Every step should be approached patiently and diligently, without rushing at any point. This crown molding will remain in the home for years, possibly even decades. Take your time and don’t do anything hastily; if you do, you will regret it. If you do it right, on the other hand, you’ll have a beautiful piece of workmanship to show your friends and family!


